If you've been following my blog, you may recall an earlier post entitled
"Lightyear = Taking it off." Reading that post again, made me smile. I don't think I realized then, how much I would actually learn in 2010. My latest glamour session with Leah allowed me to incorporate many of these new skills.
I have to admit, when I was first introduced to the idea of off-camera flash, I was a little apprehensive. I had become so comfortable bouncing my flash, that just the idea of learning a "new way" was a little too intimidating. It didn't take me long to realize I was being silly. I felt the same way about switching from slide film to digital and I'm looking at buying my fourth digital camera. So, my slight fear of change, obviously doesn't have much baring.
I've always used my flash on camera, usually bouncing it off a white ceiling. I've known for a while, this wasn't always going to be possible. During the wedding season, I spend a lot of time in churches. Not only do they usually have high ceilings where the flash may not reach, but often dark wood paneling to boot. The whole idea of bouncing the flash off a white surface is to increase the size of the light produced. High ceilings and dark wood....not going to cut it.
This led me to experimenting with "lighting gadgets" such as the Lumiquest quick bounce and softbox. I LOVE this thing. Its a little big and flashy {pardon the pun}, but if you can get past that, you'll never stop using it. These days, I'm using the softbox even when a white ceiling is available. I love it that much!

My initial experiments with lighting in the studio started out simple. One flash, off-camera and a light box. The light produced was crisp, clean and if the flash was positioned correctly, there were no shadows. I thought,
if only you could get that kinda light on a larger scale. Answer: two umbrellas and two light stands.
Studio lighting is where I learned the most this year. The different styles, techniques and lighting equipment can be overwhelming. The key is to find the right inspiration. I've done a lot of research and studied the work of many masters of lighting. I'm also lucky to share my passion for photography with my Dad. Having someone to bounce ideas off, learn from and experiment with, is awesome. We've experienced many "wow" moments together. Remember the
Beneath the Bottle post. We couldn't believe what was possible.
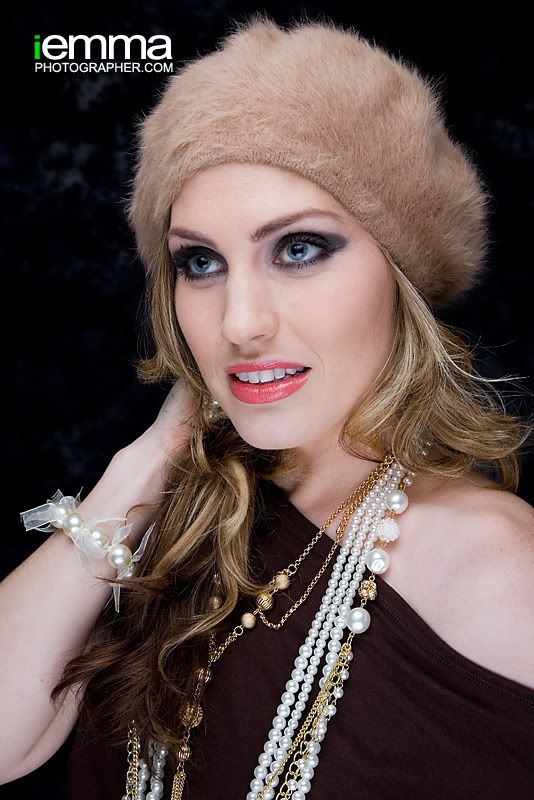
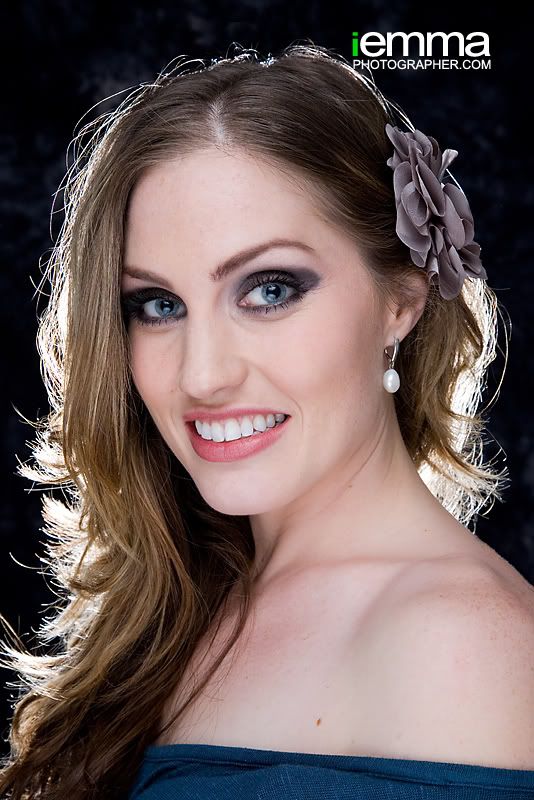
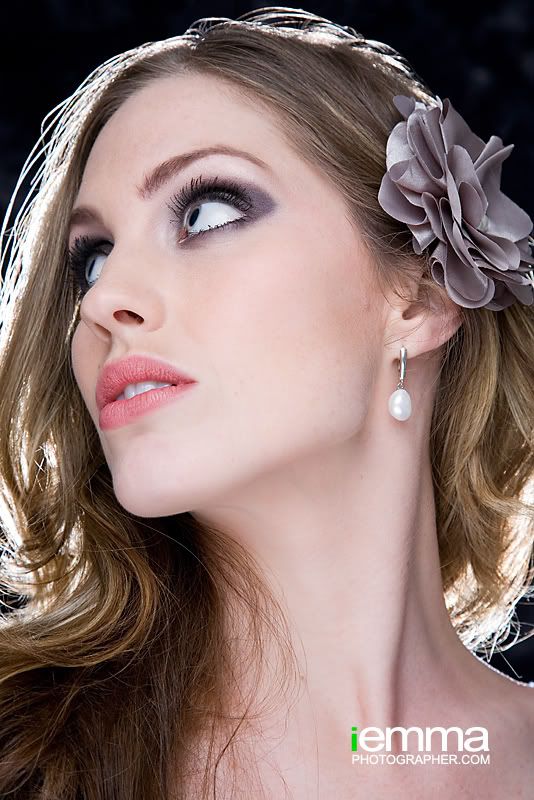
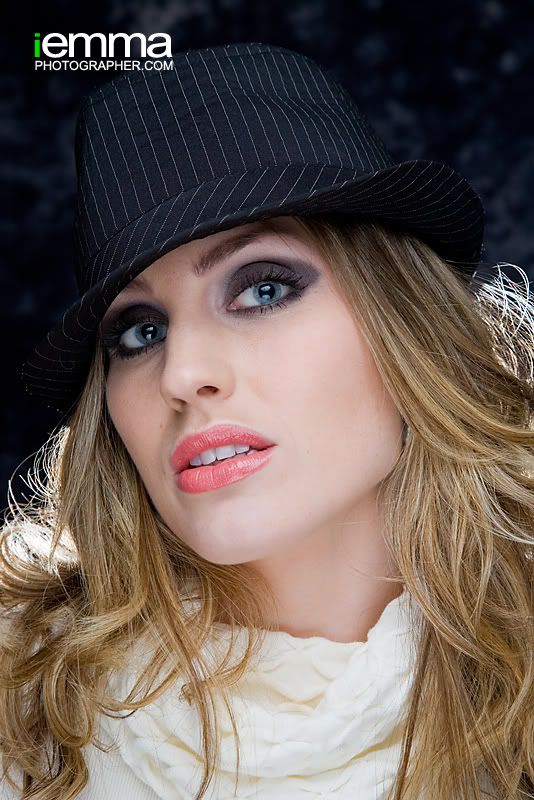
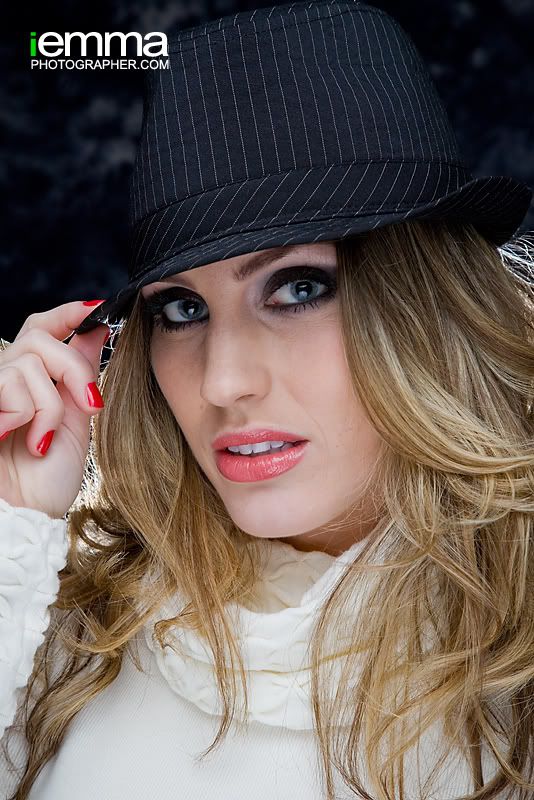
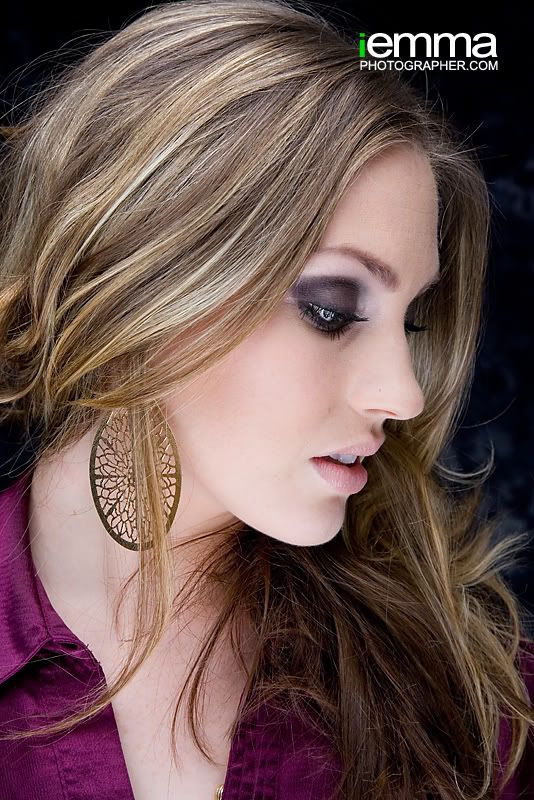
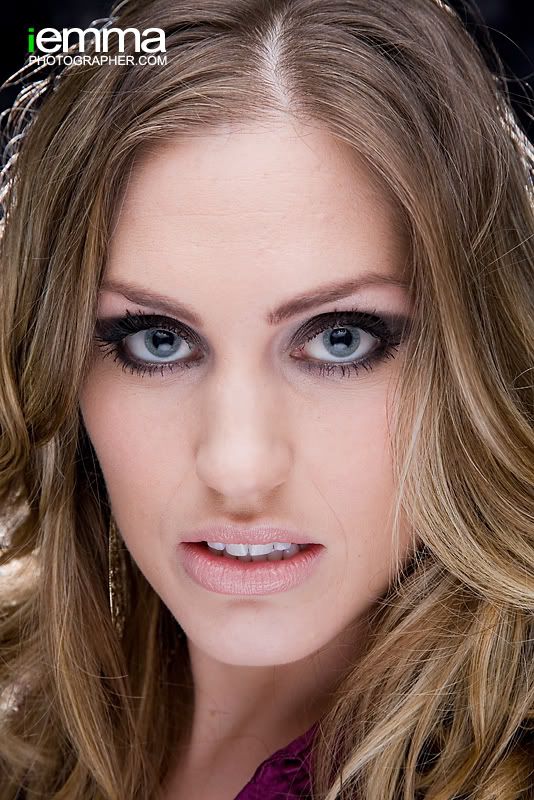
The two images you see above are a prime example of my latest lesson in lighting. All the head shots in this post were taken using the "clam shell" lighting technique. I've used this set-up many times. But, for the glamour session, I decided to add a third strobe. A hair light, placed directly behind Leah's head. Take another look at the images. Not only does the hair light give separation between the subject and background, it completely changes the overall feeling of the image. This was one of those "wow" moments.
When I began experimenting with studio lighting, I was using an STE2 to fire the flashes. Based on what I was reading from the pros, I knew a big purchase was in my future...and the "fear of change" kicked in. While I was getting really comfortable using the STE2, I knew pocket wizards were the way to go. At this stage, I was using two strobes with two umbrellas. That meant, I would need at least three wizards {ouch}. I figured a third strobe would eventually come into play, so I ended up with four remote triggers. As photographers, we must invest in new equipment {at least that's what I keep telling myself.} What's that saying?..."you have to spend money to make money" or something like that. Again, that's what I keep telling myself.
To think I've gone from using one flash on camera to three strobes on lights stands all fired using pocket wizards in eleven months, blows my mind! But, my strobist journey is far from over. Not only do I plan to master my craft, there is so much more I want to learn. What's to come? I plan to take this studio set-up outdoors. Hmmm. Where will 2011 take me?
